Tile Laying Mortar L1
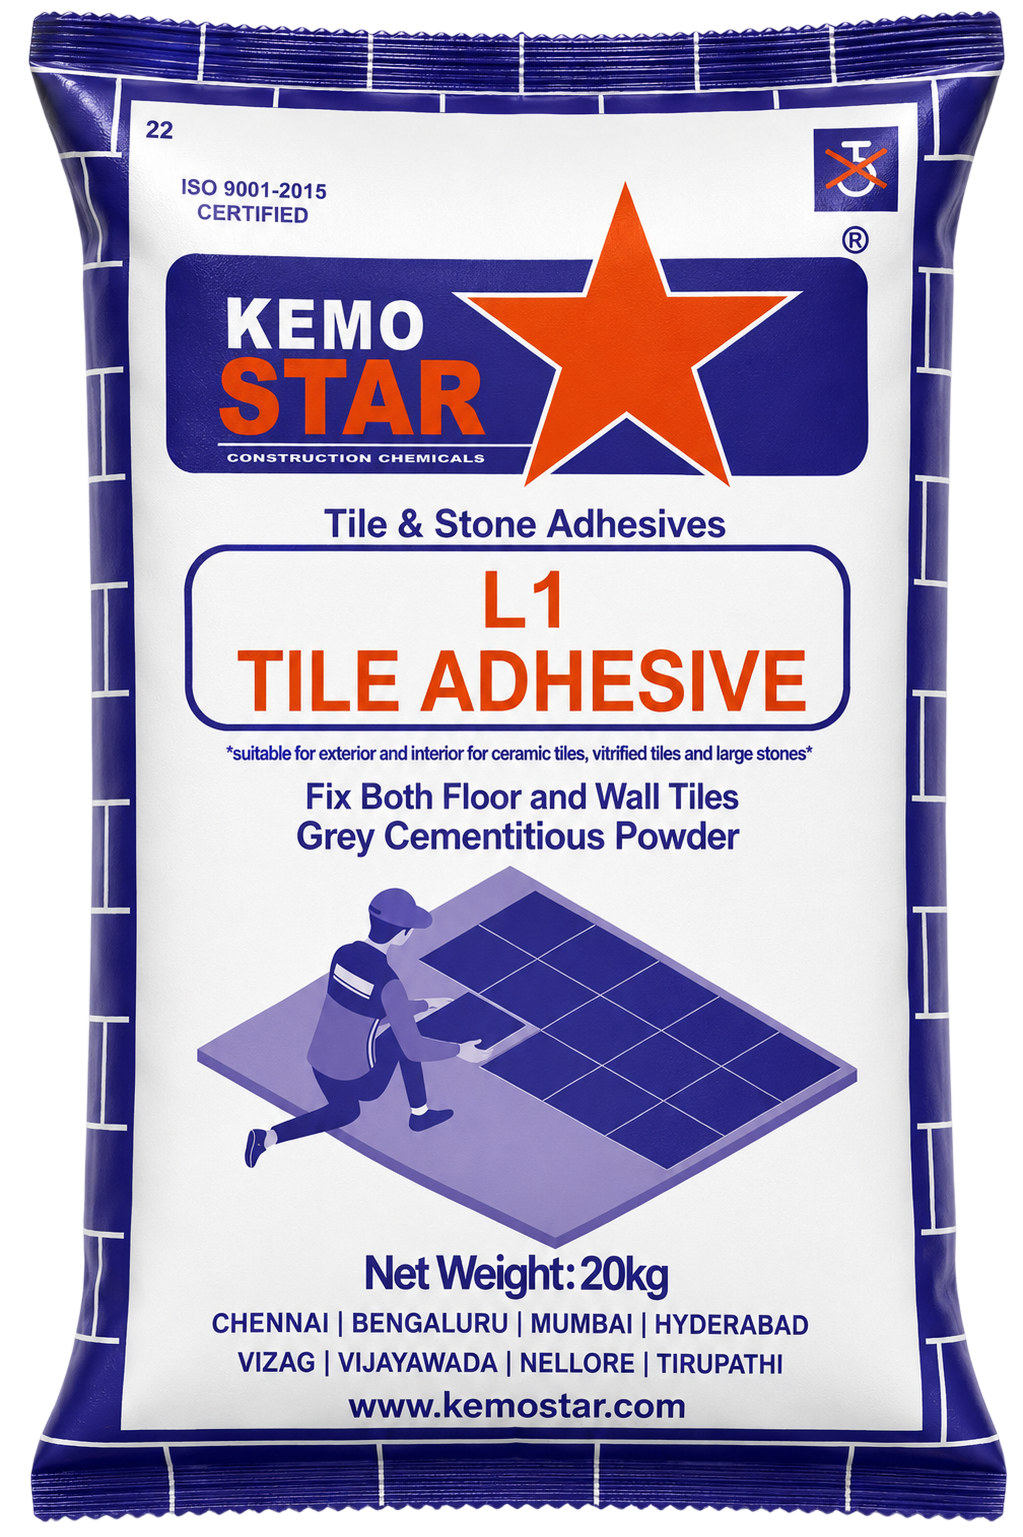
L1 Tile Adhesive · Standard Grade

Tile Laying Mortar L1

High-performance tile adhesive suitable for walls and floors with strong bonding and reliable application performance.

Coverage
45–55sqft / bag
Pot Life
45min
Packing
20kg bag
Bed Thickness
3–4mm
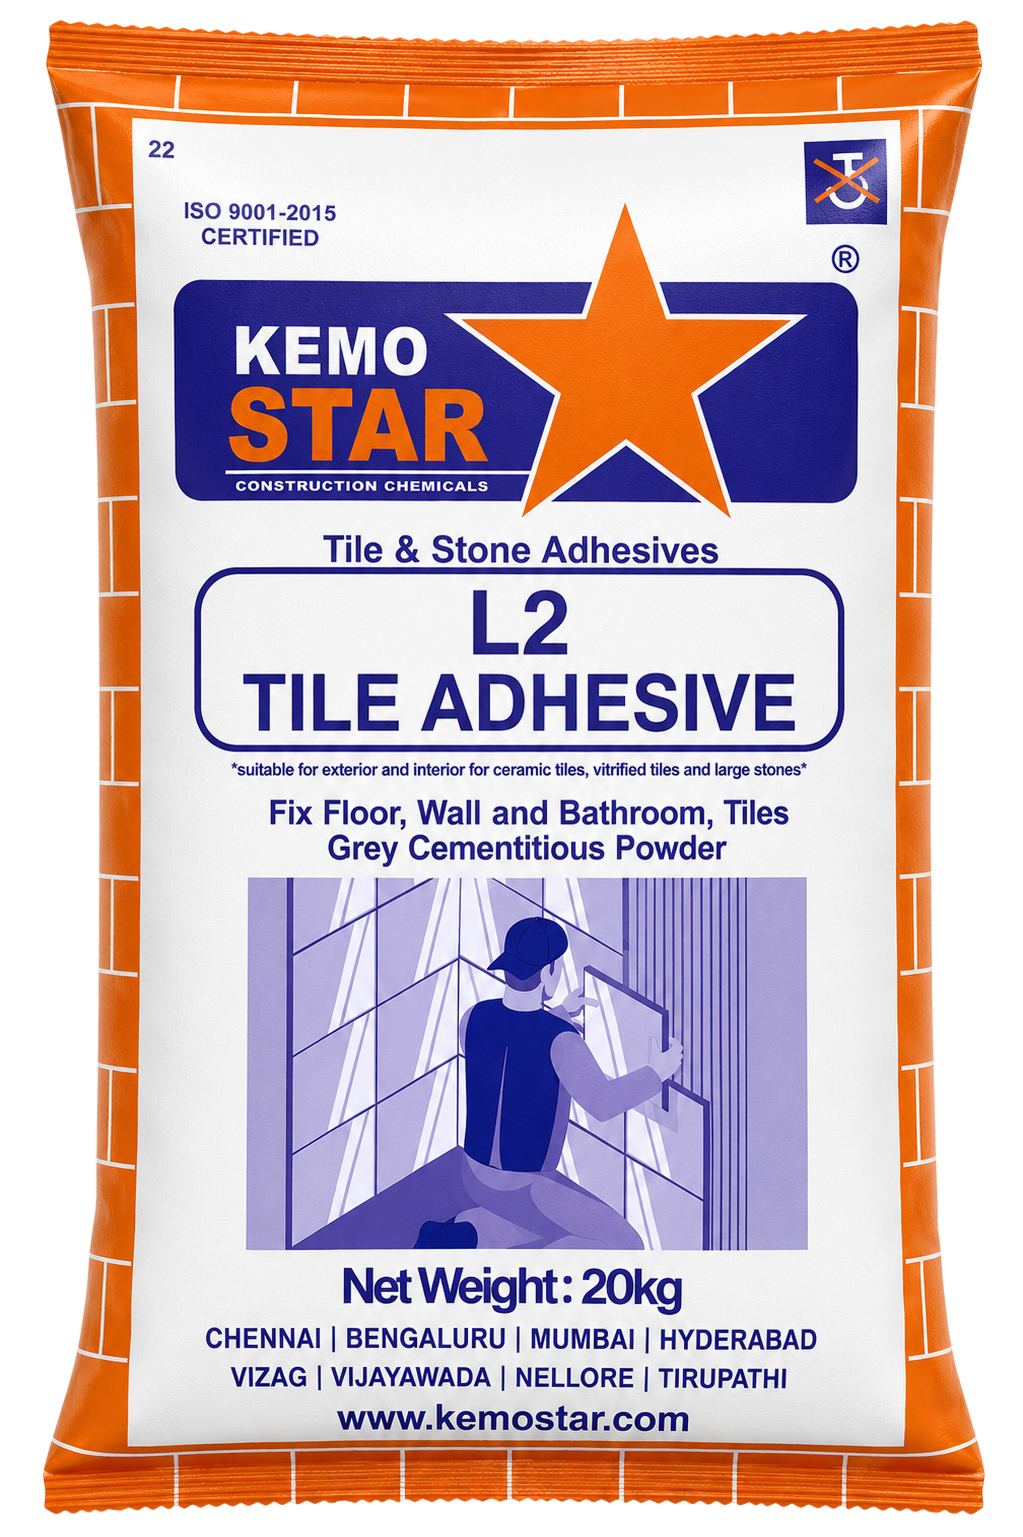
Built for Everyday Tiling Excellence

Tile Laying Mortar L1 is a polymer-modified cementitious adhesive engineered for standard indoor tile installation on both walls and floors. It delivers consistent bond strength, smooth workability, and a reliable open time for efficient application.

Formulated for residential and commercial use, L1 makes everyday tiling efficient — with no additional curing required and predictable performance across a wide range of tile types.

Why Applicators Choose L1

Engineered for ease of mixing, dependable adhesion, and consistent performance bag after bag.

💪

Strong Bond Strength

Tensile adhesion greater than 1 N/mm² after 28 days for reliable, long-lasting installations.

🧪

Polymer-Modified Mix

Advanced polymer additives improve adhesion, flexibility, and workability on site.

Smooth Workability

Easy mixing and a comfortable open time of approximately 45 minutes for efficient laying.

🏠

Walls & Floors

Suitable for indoor wall and floor tile installations across residential and standard projects.

💧

Self-Curing

No additional water curing required after installation — saves time and effort on site.

📦

Consistent Quality

Manufactured under ISO-certified controls for predictable performance in every bag.

Mixing & Application Procedure

Follow these steps for clean, dependable installation. Use mechanical mixing for best consistency.

1Mixing Procedure
  1. Mix product with the required amount of clean water.
  2. Mix thoroughly with a mechanical mixer until the mixture is homogeneous.
  3. Allow the mixture to stand for 10 minutes for the additives to dissolve.
  4. Mix again and the mortar is ready to use.
2Application Procedure
  1. Ensure the surface is clean, sound and level.
  2. Remove loose particles, grease, and traces of foreign materials that may affect adhesion.
  3. Apply the mortar by pressing it firmly against the surface with a trowel.
  4. Spread the adhesive with the notched edge of the trowel over an area that can be tiled within about 10 minutes.
  5. Tiles should be firmly pressed onto the sub-base and immediately positioned.
  6. Check adhesive coverage periodically.
  7. For big tiles and tiles with high ridges, use the back buttering method.
  8. Tile adjustment is possible within 15 minutes after installation.
3Tips & Best Practices
  • Ensure adhesive does not fill more than half the depth of tile joints.
  • Do not soak tiles before tiling.
  • Do not add water to adhesive after pot life expires.

Physical Properties

Performance specifications based on standard laboratory testing under controlled conditions.

Color
Grey
Water Demand
Approx. 25°
Density
Approx 1.5 g/cc
Consumption
1.2 kg/m²/mm
Self Curing
No additional curing
Pot Life
Approx 45 minutes
Bed Thickness
3–4 mm
Time for Traffic
Grout 12h · Foot 24h
Coverage
45–55 sqft / 20kg
Tensile Adhesion
> 1 N/mm² (28 days)
📦

Storage & Packing

  • Delivered in 20kg bags.
  • Storage life: 6 months in dry and sheltered conditions.
  • Keep bags off the ground and away from moisture.
💡

Helpful Notes

  • Ensure adhesive does not fill more than half the depth of tile joints.
  • Do not soak tiles before tiling.
  • Do not add water to adhesive after pot life expires.
Disclaimer

To the best of our knowledge, the information contained herein is accurate. However, neither B R AND CO nor KEMOSTAR assumes liability for completeness or accuracy. Final suitability determination remains the responsibility of the user.

Ready to place an order?

Talk to our team for technical guidance, bulk pricing, or dealership inquiries.